Create an account with Zapier
Zapier is an online automation tool that can be used to connect Retreat Guru to your favorite apps, such as Gmail, Slack, MailChimp, and more, to automate repetitive tasks, usually without coding or relying on developers to build the integration.
To utilize this functionality you will need an account with Zapier. If you don't have one, create an account with Zapier before proceeding.
Here are some common terms you'll need to know:
- Zap - an automated workflow between your apps that consists of at least two parts: a trigger and one or more actions. For example, you may have a Zap that sends a message via Slack when a new program is created in Retreat Guru. Or, your Zap may send an email to your donations manager when a participant makes a donation on the Retreat Guru online registration form.
- Trigger - the event in an app that starts, or triggers, the Zap. For the send an email to your donations manager example, you may receive a lot of registrations through Retreat Guru, but the Zap won't be triggered until Zapier finds a new registration that includes a donation.
- Action - the event that completes the Zap. For the send an email to your donations manager example, the action is sending an email.
- Task - each piece of data run through your Zap counts as a task. That means if your Zap sent 100 emails to your donations manager, your Zap performed 100 tasks.
Connect Zapier to Retreat Guru
Before proceeding, you need to have the API feature enabled in Retreat Guru. If it's not, you can contact your friendly support guru to have the feature activated.
To connect your Retreat Guru account to Zapier, follow this invitation link.
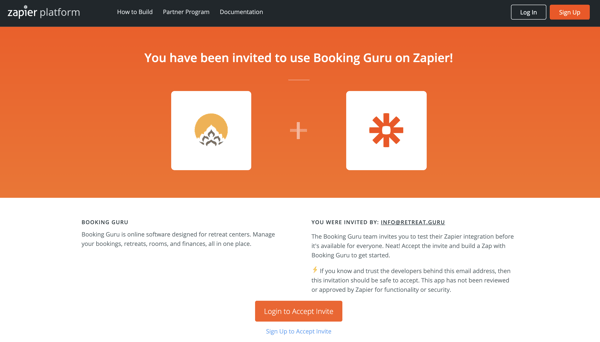
The current version of the integration is Booking Guru (1.9.2).
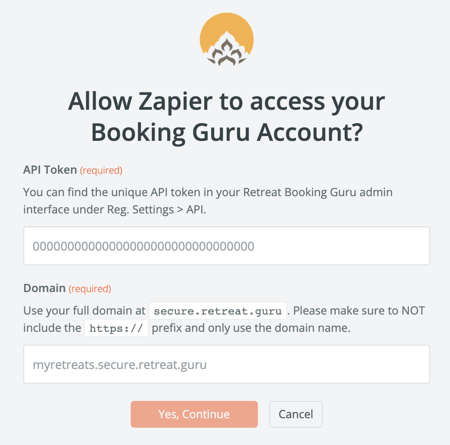
To complete the connection, enter your Retreat Guru domain and your unique API Token. You can find your domain in your browser's address bar when you are logged into Retreat Guru. For example: mycenter.secure.retreat.guru
You will also need to enter your API Token to allow Zapier to access your Booking Guru (Retreat Guru) account. Go to Reg Settings > API to find your unique API Token. If the token field is blank (or all zeros) click on Generate Token to create a new unique value.
WARNING: if you click on Generate Token, previous tokens will become invalid - any Zaps or API connections that used the old token will need to be updated with the new token.

When entering the domain, do not include the https:// or other prefixes and do not include any characters that appear after the domain.
For example, if your browser bar displays ...
https://mysitename.secure.retreat.guru/wp-admin/admin.php?page=rs-dashboard
... enter only mysitename.secure.retreat.guru for the domain.
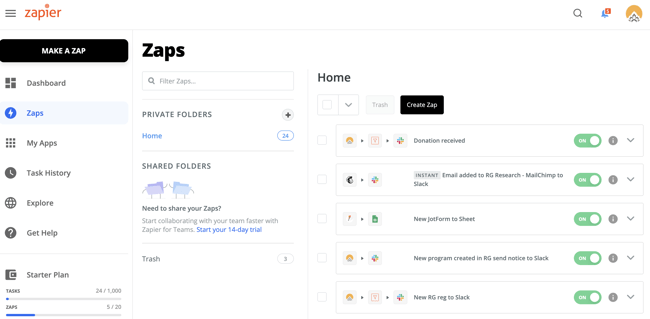
Create a Zap
Logon to Zapier, and click on Make a Zap (or Create Zap).
Name the Zap and choose an app
Edit the default name in the upper left of that window. Use words that clearly identify the purpose of this Zap and easily distinguish it from our other Zaps.
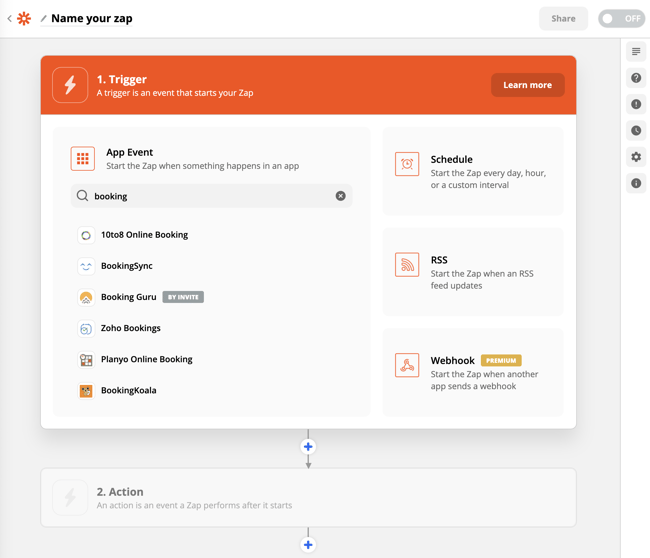
Start typing Booking Guru in the search, locate the Retreat Guru app event (shown as Booking Guru - by invite), and click on Booking Guru.
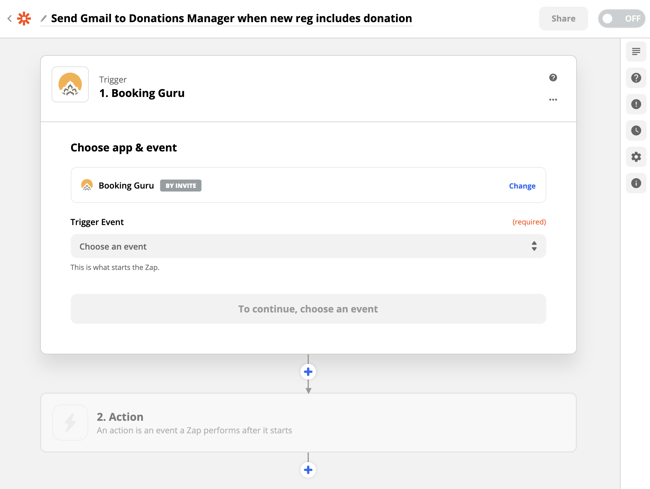
Choose a trigger event
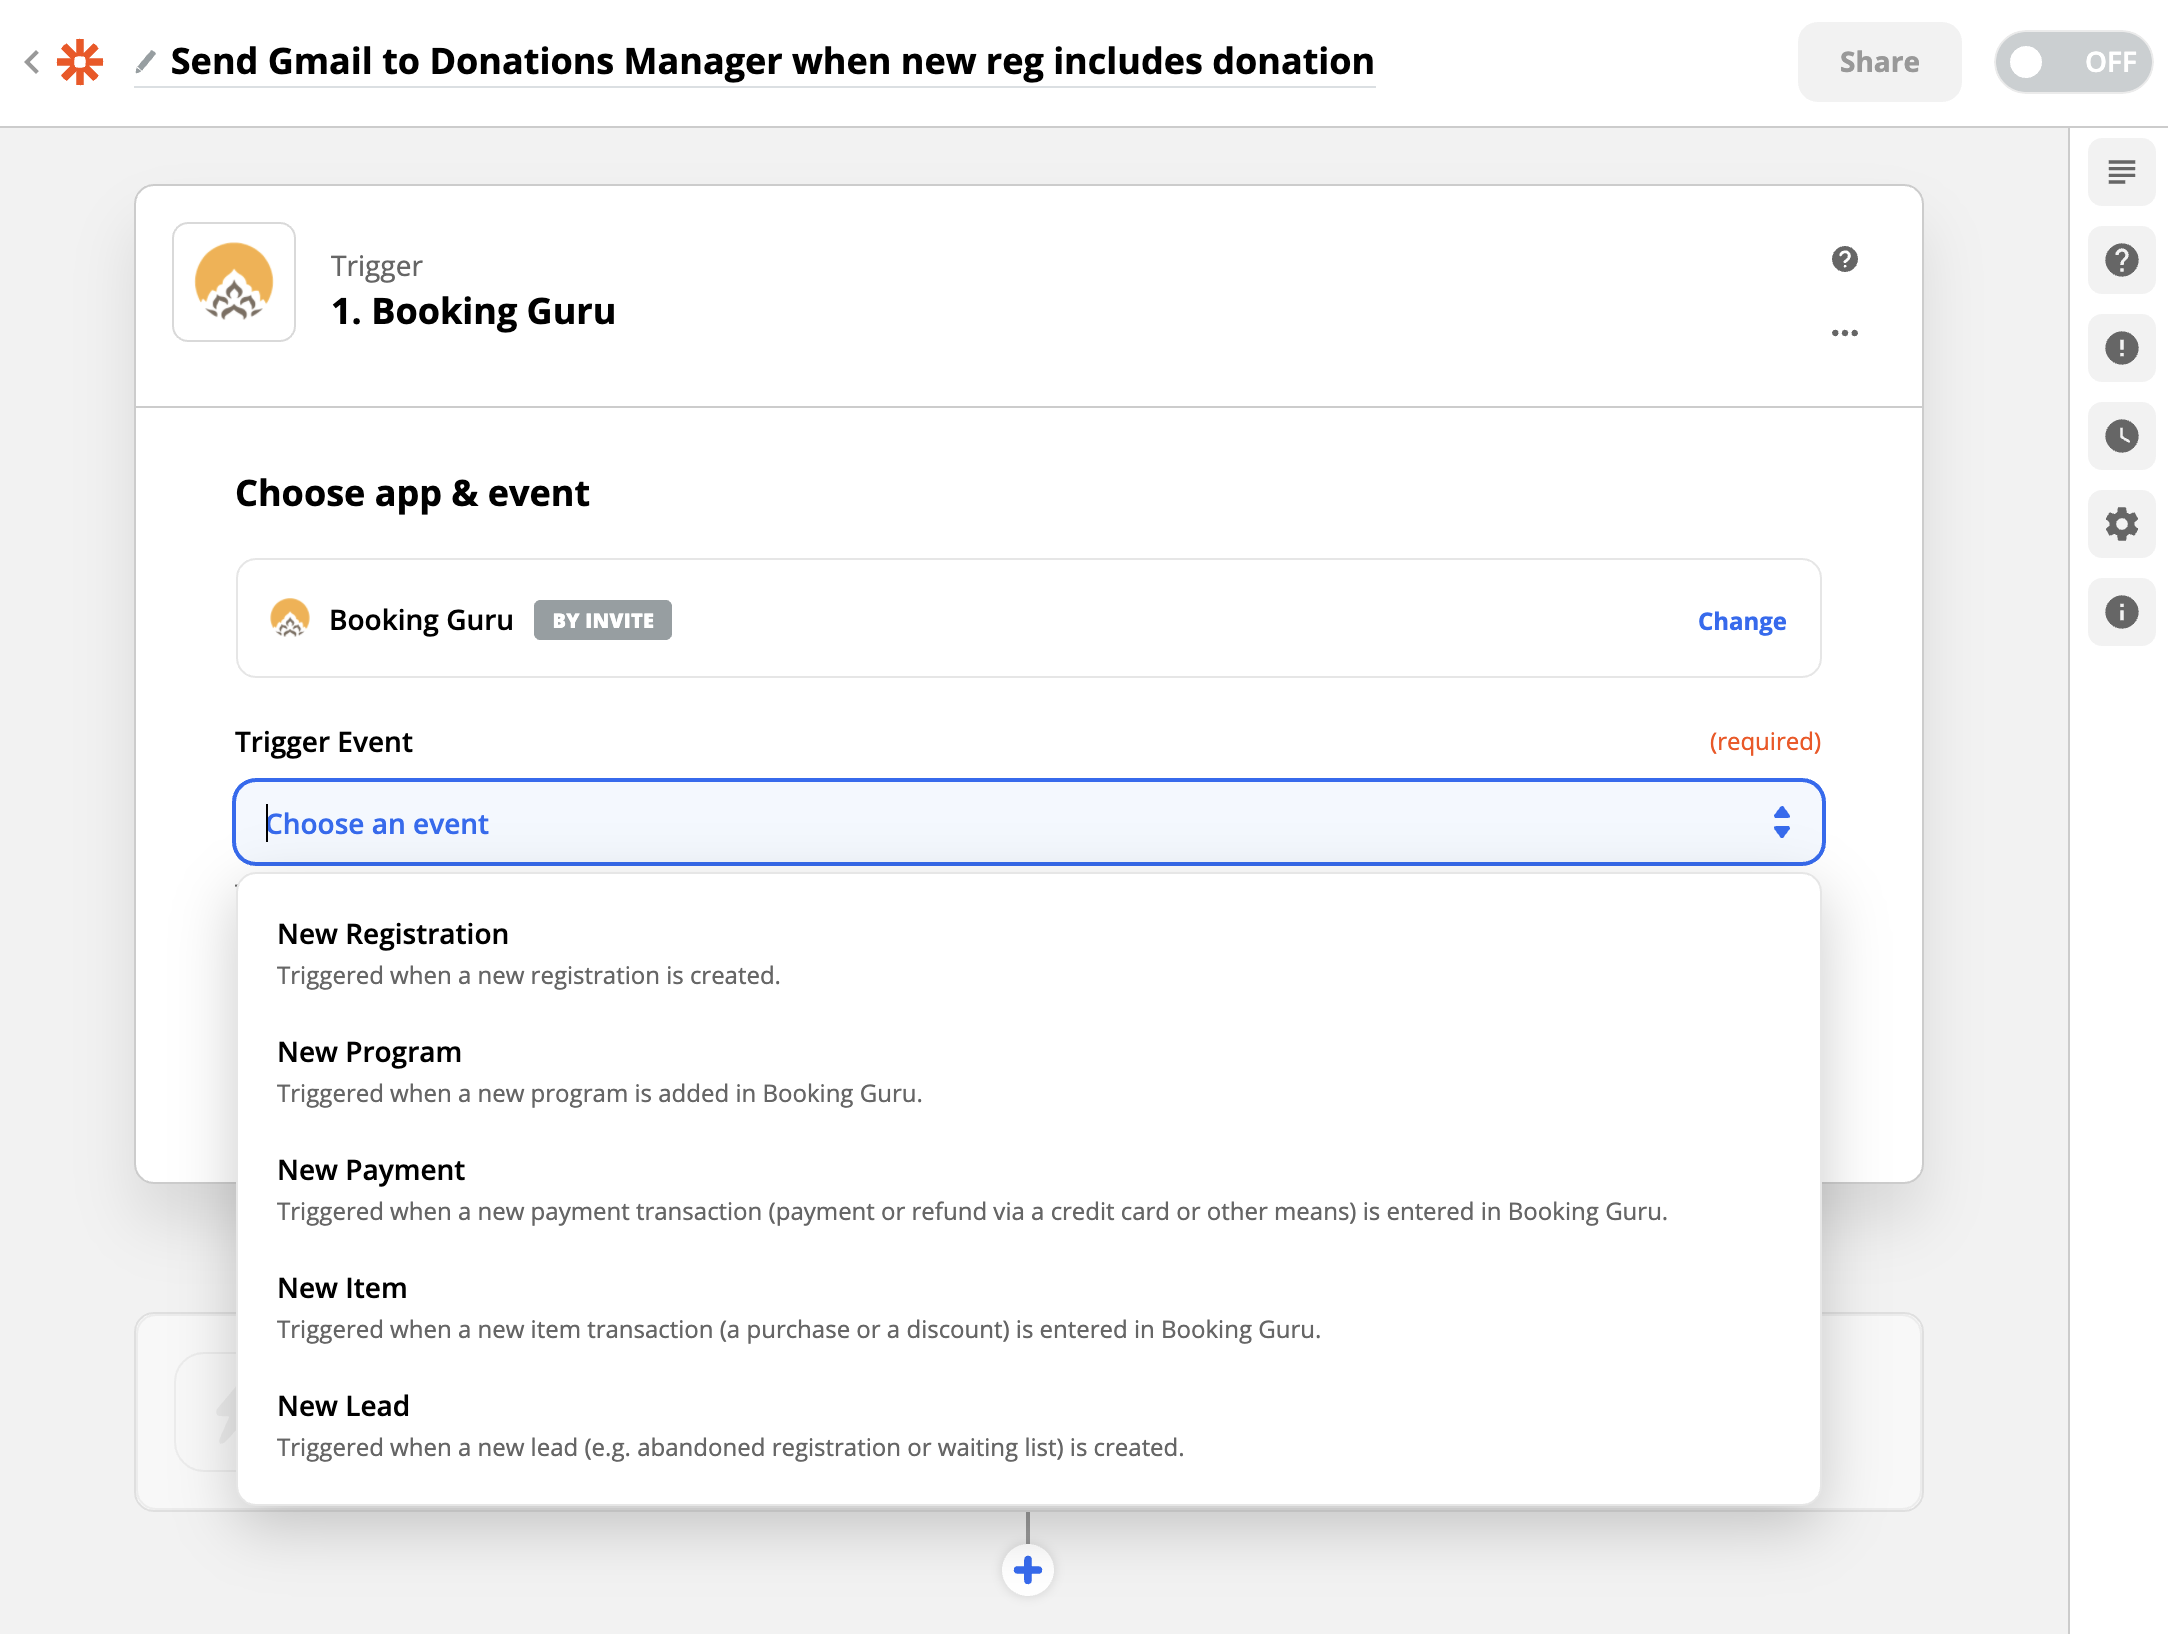
Click on Choose an event to select the trigger that will activate your Zap.
For example, click on New Registration to automatically activate your Zap when a new registration is created via the Retreat Guru online registration form.
Choose account
After clicking on New Registration, and Continue, you will be asked to identify your Booking Guru (Retreat Guru) account. Choose the appropriate account from the drop-down menu and click on Continue.
Set up trigger
In our example, we'll ignore the Minimum Date and Registration ID options.
And, we'll ignore the Program option. However, you could use the Program option to specify a program - to consider only new online registration form entries for a specific program.
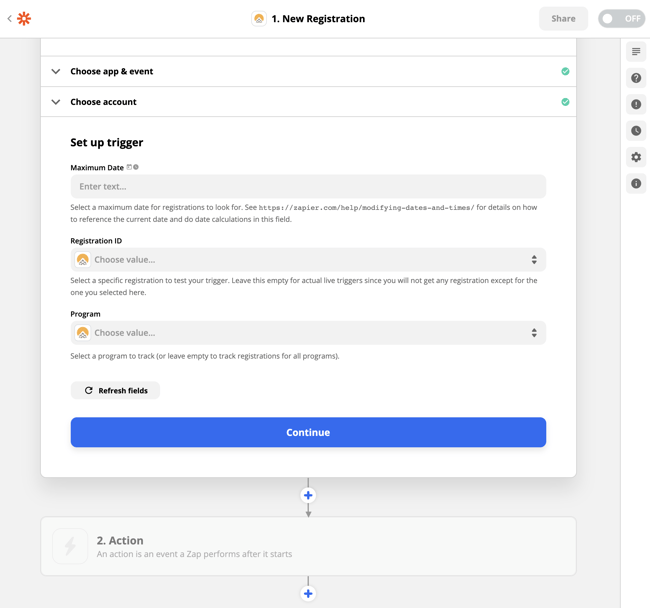
In our example, we'll leave the Program option blank so that the Zap will be activated when a new online registration form is submitted for any program.
Test trigger
Click on Continue, then click on Test. Zapier will attempt to connect with your center's Retreat Guru software and to look for registrations matching the triggers.

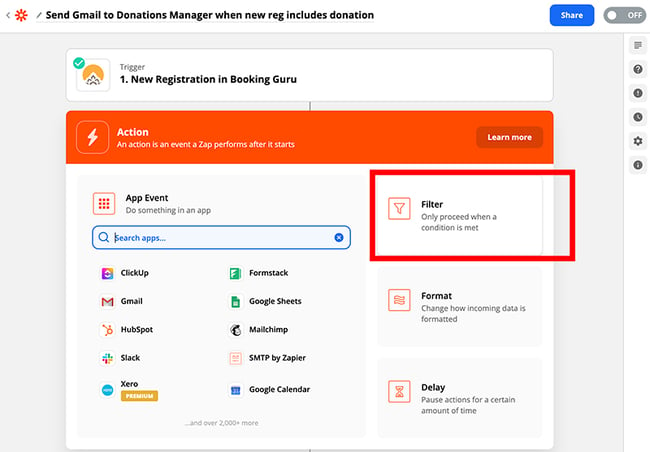
Filter registrations that include a donation
We have told Zapier to trigger when a new online registration form is submitted. But, we don't want to send an email to your donations manager for every new registration, we only want to email when a new registration includes a donation.
The Zap will need to check each registration - to create a filter - so that the Zap will proceed only when a registration includes a donation.
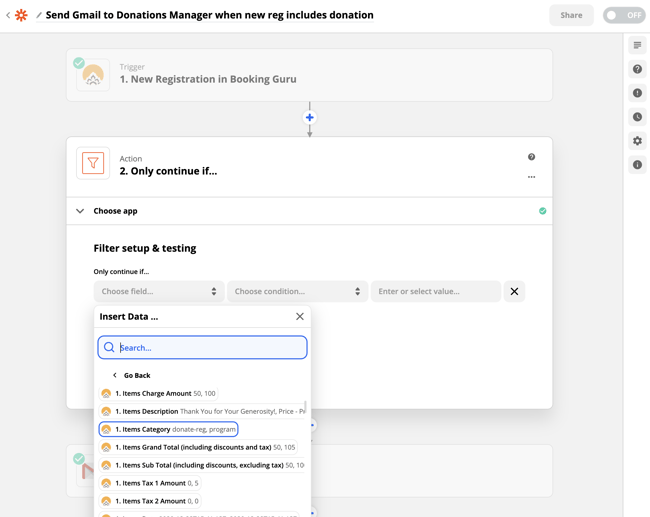
Click on the plus sign (+) after the Trigger - New Registration in Booking Guru section to add a new Action. Then, choose Filter.
In our example, we only want to continue if the field Items Category (shows the transaction category for each item on the registration).
Choose an action to take when the trigger fires
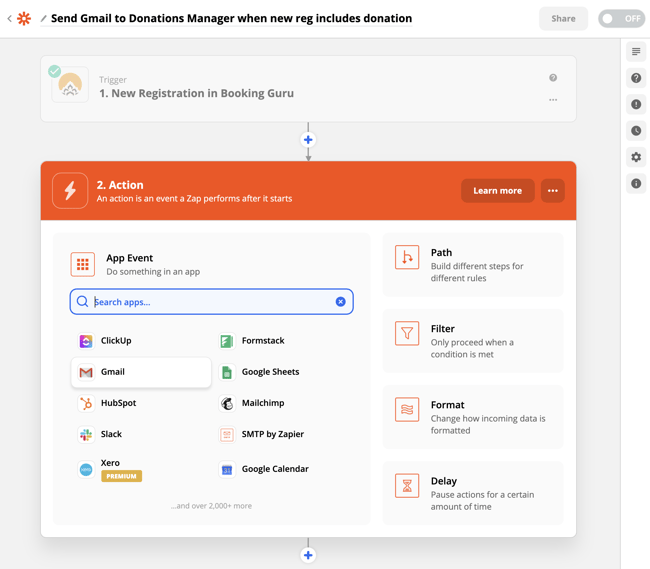
Next, you'll need to tell Zapier what to do when the trigger fires. That is, what should happen when a new online registration form is submitted?
In our example, we want to send an email using Gmail to your donations manager.
Find Gmail and click.
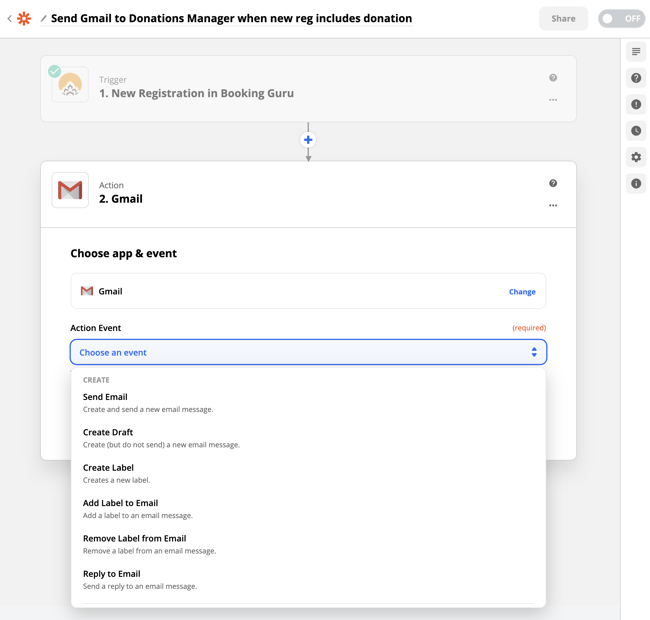
Next, choose an action to take. Click on Send Email, then Continue.
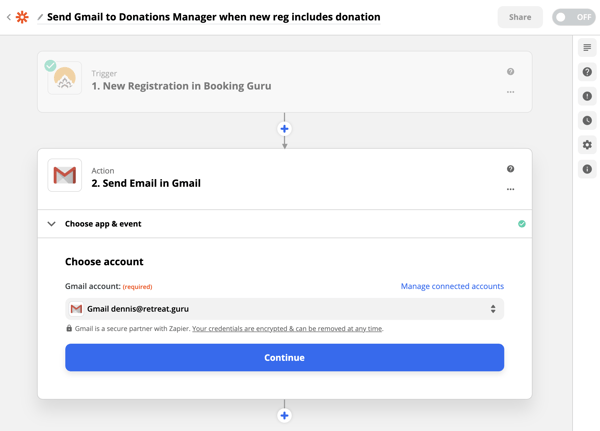
Then, identify your Gmail account and click Continue.
Send an email in Gmail
Now the real fun begins! It's time to configure the email that will be sent.
We'll choose key fields as we proceed, and skip others that don't apply.
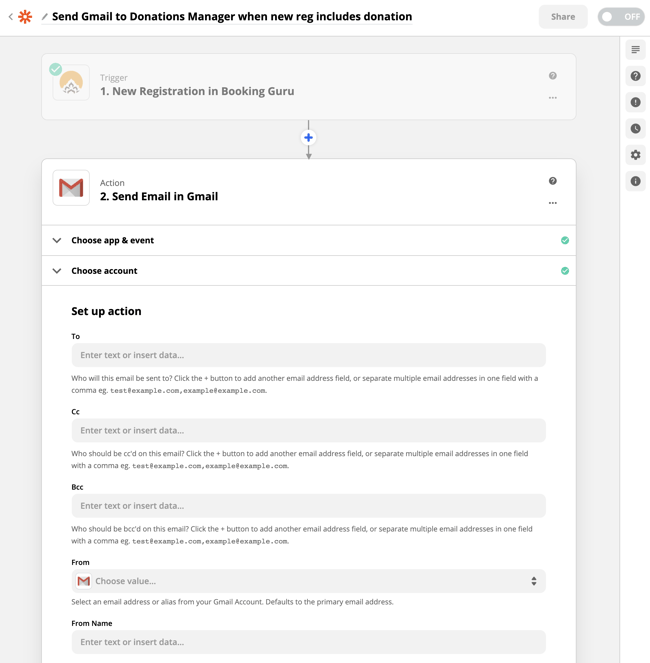
Click in the To box and enter your donation manager's email address - the recipient of the email notifications when someone makes a new donation via the online registration form in Retreat Guru.
In our example, enter dennis+donations@retreat.guru in the To field as the donation manager's email address.
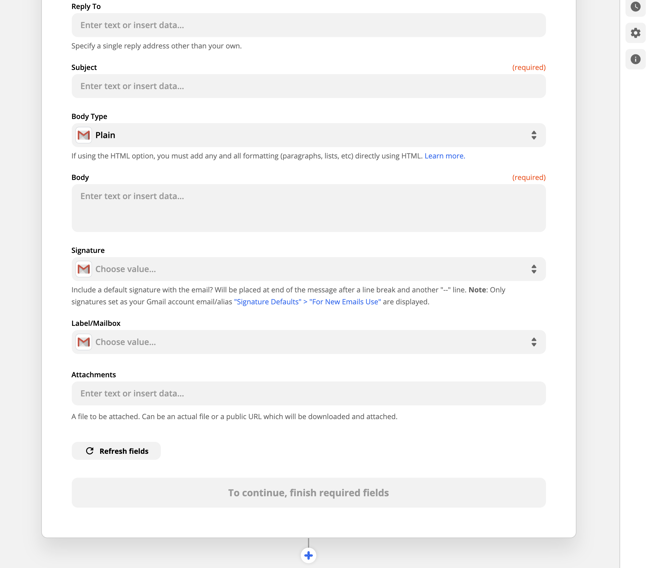
Next, enter the From email address and From Name.

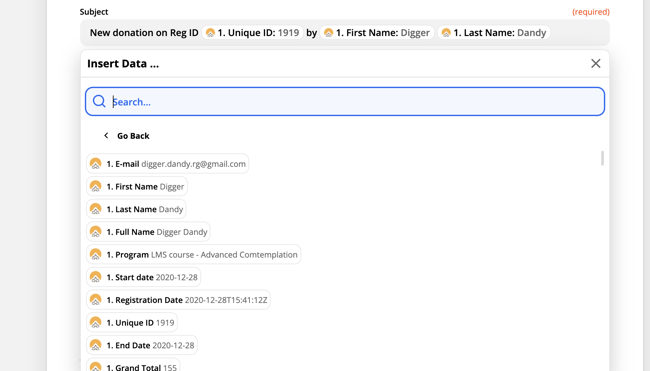
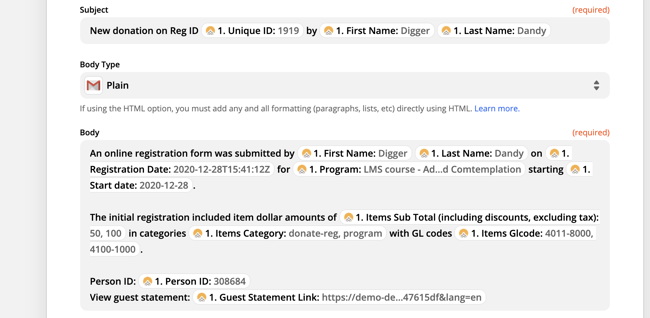
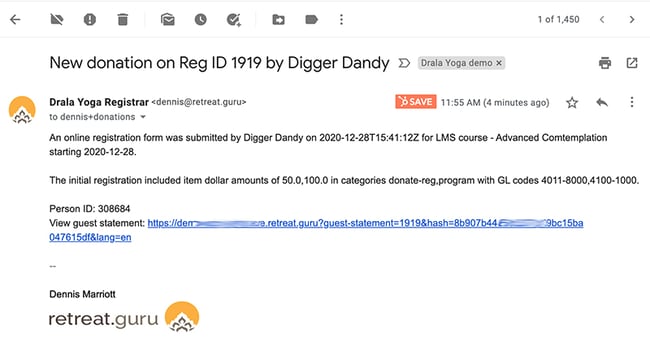
For the Subject, type in the text "New donation on Reg ID" and include some online registration form fields selected from the drop-down box.
For the Body, do the same - add some text and include some fields.
Test the action
When you test the action, you will see the results within the Zapier window and an email will be sent to the address you configured (dennis+donations@retreat.guru).
Turn on Zap
All looks good, so we click on Turn on Zap to make the process live.
![]() Zap! That was easy. Now you can just sit back and let the magic happen :)
Zap! That was easy. Now you can just sit back and let the magic happen :)
We'd love to hear from you. Did you find this article helpful? Are you aware of any additional information we should add? Would you like to suggest a topic for another article? If so, please contact your friendly support guru.