Need a general refresher on the core emails feature? Check out Sending Emails.
Creating Custom Email Templates
Go to Settings > Emails to create custom email templates.
To add an email template click Add New.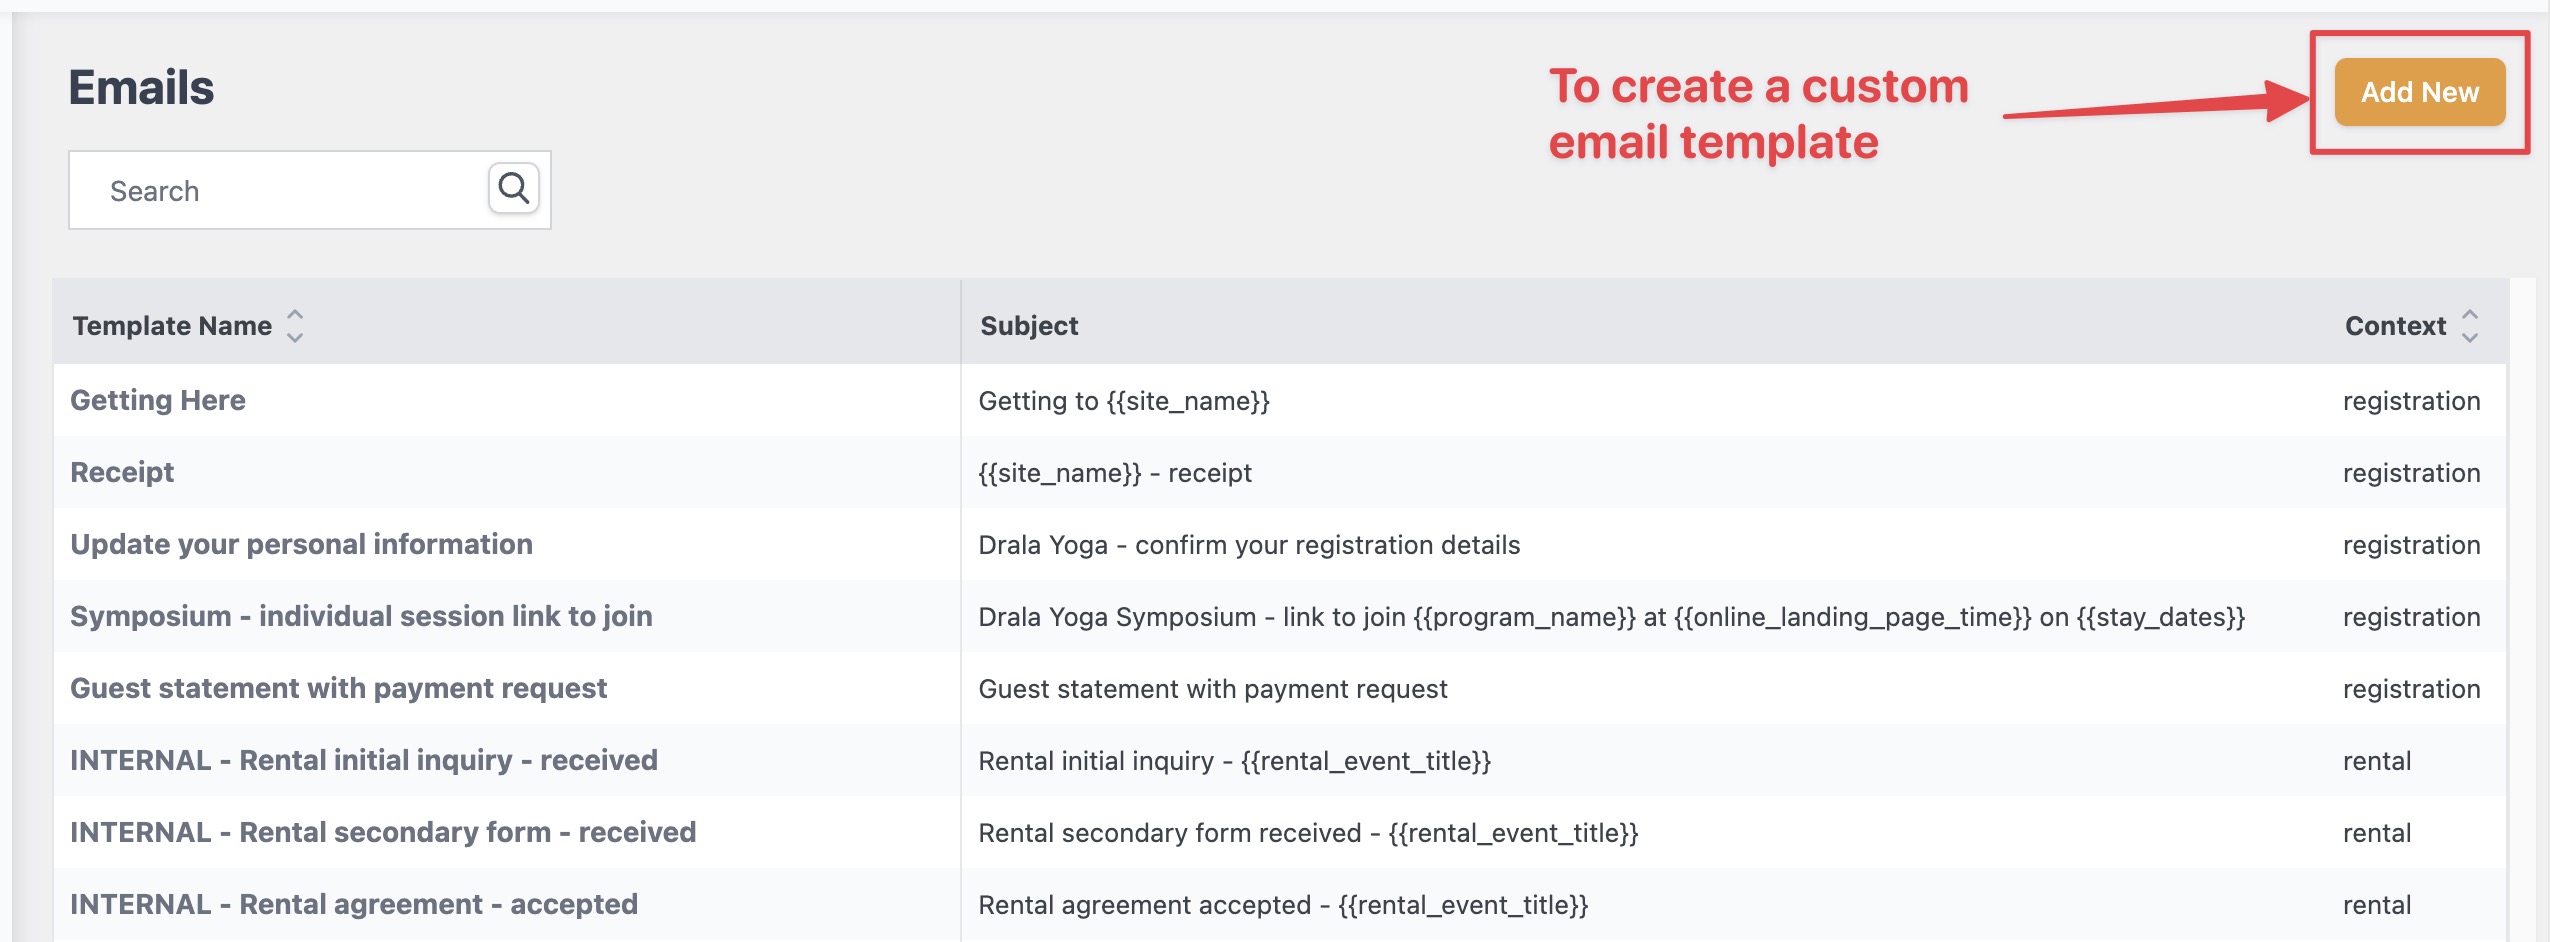
While editing a program, sending bulk emails, or emailing a participant from the edit registration page, you can choose one of your custom email templates to send. When you select an email template for use, Retreat Guru creates a new email using that template - you can personalize or modify that new email as needed before sending it.
From the list of email templates, click on the template name to edit.
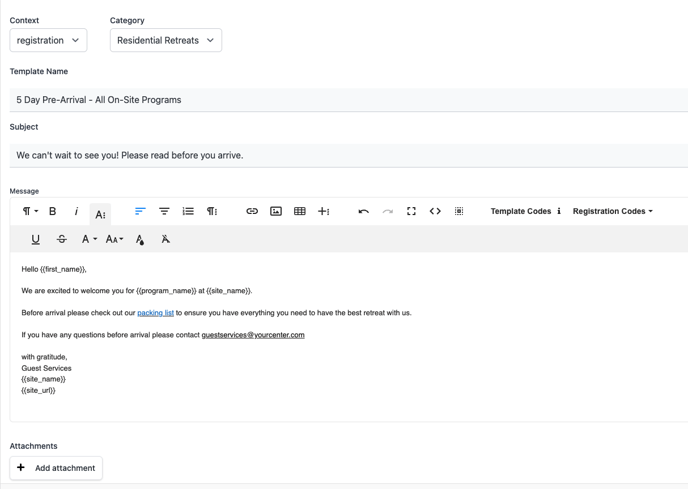
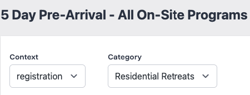
Context - Select registration if your template will be used to create a new email associated with a program registration. Select rental if it's for a rental agreement. Note: that the email context adjusts which template codes can be used in the email - it is best to set the context before creating your template.
Category - create or assign template categories to find the templates you are looking for.
Template Name - This is an internal name used by your admin team to identify email templates. Note: when emails are categorized the grouped templates will be alphabetized.
Subject - The subject of the email as displayed to the guest when received.
Message Editor - Create your email message and use the WYSIWYG editor options to style the content. Note: it is best to only copy and paste raw text into this field to avoid additional formatting code which can make it difficult to edit when editing templates on programs, bulk emails or registrations.
Attachments - Add attachments from your media library or upload new files to attach to your email templates by clicking the + Add attachment button.
Code View - Selecting Code View ( < > ) in the message editor will allow you to see the code version of your message content. If you prefer to use your own style instead of the editor you can enter it in this view.
Actions - At the top right of an Email Template Page select the Actions drop-down menu to Trash an unwanted template.
Categorize Your Templates
You can categorize your email templates to stay organized. While editing an Email Template, select the Category drop-down. Choose Add New and type in your chosen category name. Once created you can add this category to any email templates.
Unused template categories will be automatically cleared when the page refreshes.
Once Categorized, you can sort the Emails Page to easily find what you are looking for. Click the Arrows next to the Category column header to sort the list by category.
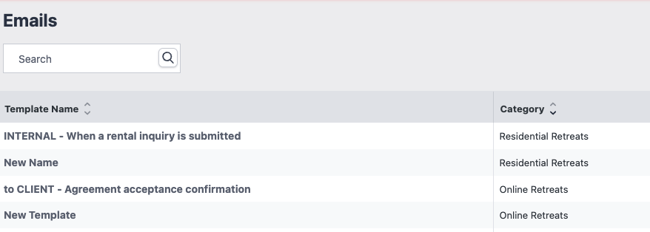
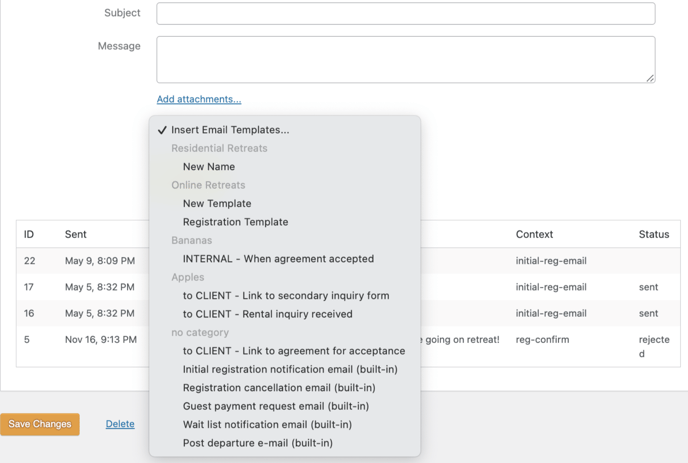
When inserting email templates into programs, bulk emails, and on registrations, the categories will display as headers with each template in that category in alphabetical order below. Any uncategorized email templates. Those templates with no category will display in alphabetical order at the bottom of the list.
Once the template is selected, the template content is copied to the text box. It will display in code view. Changes made to an email template after it is added to a program will not update automatically and will need to be manually updated or adjusted.
![]() We plan to release further updates to the Emails section soon. If you need some more support with email check out our Sending Emails help article Or contact your friendly support guru.
We plan to release further updates to the Emails section soon. If you need some more support with email check out our Sending Emails help article Or contact your friendly support guru.